
KINESIO TAPPING FOR WRIST SPRAIN : KT Taping
Table of Contents
Introduction :
Kinesiological tapping for wrist sprain is a rehabilitative cum protective use of stretcheble kinesiological tapes to provide relief of
- reduction of Wrist pain
- enhancing performance
- preventing injuries
- support to the Wrist joint
- repositioning of structure
- Muscular and ligamentous correction.
- It facilitate the healing process while providing full ROM with support to the joints suppotive
- structure as well as mobilization effects.
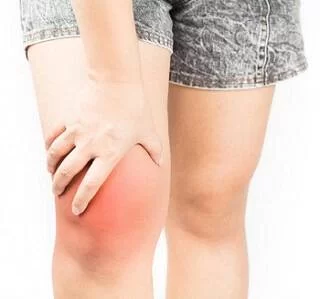
- A wrist sprain is an injury where the ligaments in your wrist stretch or tear.Stretching or tearing of tissues (ligaments) connecting bones and joints in the wrist
- A sprained wrist can be caused by a sports injury or trauma. Typically, the injury happens during a fall. Your wrist can suddenly twist or bend, causing damage to the ligaments.
- A wrist sprain is an injury to the ligaments of the wrist region, including the ligaments connecting the carpal bones and the ligaments connecting the proximal row of carpal bones with the radius and the ulna.
Anatomy of wrist joint :
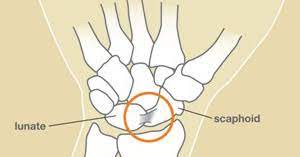
There are two types of wrist sprains, namely radial and ulnar wrist sprain.
The radial wrist sprain is most common, with mostly an injury of the ligaments connecting the lunate with the scaphoid, including the scapholunate ligament and the radioscapholunate ligament.
In case of an ulnar wrist sprain, it can be a torn of the ligaments of the triangular fibrocartilagenous complex or the luno-triquetrum complex
Wrist sprain causes :
- Usually, wrist pain is caused by physical trauma to the wrist. This typically happens when you fall onto an outstretched hand, an injury known as FOOSH.
- You can sprain your wrist if it:
- suddenly twists
- moves in an abnormal position
- bends backward
- sustains heavy impact
- This often happens during sports that commonly involve falls, such as:
- basketball
- gymnastics
- mountain biking
- skateboarding
- The injury can also be caused by overuse, which might occur in sports like tennis and boxing.
- Wrist sprains can happen to anyone, not just athletes. You can sprain your wrist during accidents like slipping on ice or tripping over an object.
Symptoms :
What does a sprained wrist feel like?
- A sprained wrist is very painful, especially when you move it. It might also:
- feel tender
- feel warm
- make popping or tearing sounds
- be difficult to move
- feel weak
- What does a sprained wrist look like?
- A mildly sprained wrist might be slightly swollen. In more serious sprains, the swelling can be severe. You may have bruising.
Types of wrist sprain:

Wrist sprains are categorized based on their severity. The types of wrist sprains include:
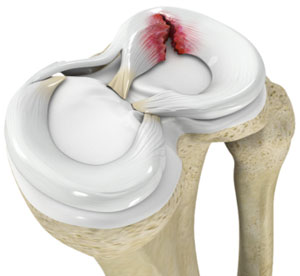
Grade 1 sprained wrist (mild)
In a grade 1 wrist sprain, the ligaments are overstretched. There are no tears.
Grade 2 sprained wrist (moderate)
If the ligament has partly torn, it’s a grade 2 wrist sprain. You may lose some mobility and need a splint or brace.
Grade 3 sprained wrist (severe)
This is the most serious type of wrist sprain. The ligaments have completely torn. In some cases, the ligament might separate from the bone.
If you have a grade 3 wrist sprain, you may need surgery.
Types of tapping technique :
Two types of tapping technique
1.kinesio tapping : Kinesio Taping Method is a therapeutic tool utilised by the rehabilitation specialists in all programs
(paediatric, geriatric, orthopaedic, neurological, oncology and others) and levels of care (acute care, inpatient rehabilitation,outpatient, home care and Day Rehab).
The idea of using elastic tape to mimic the therapist’s hands was first presented by Dr Kenzo Kase in the 1970s. Since then it became the modality used in pain management, soft tissue injury, tissues and joints malalignment, oedema, and more.
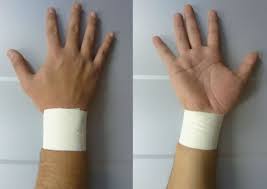
2.Rigid tapping : Rigid tapping also known as athlet tapping. Mainly Useful in Joint Injuries, Such as sprains, or conditions that need rest, support and immobilization to facilitate healing of tissues.
eg.Muscle Pull,Strain,Sprain, Ligament Laxity, Subluxation Of Weak Joint. They include regular white cloth athletic tapes and brown tapes.
The white athletic tapes are commonly used for Preventive Measure purposes whereas the stronger brown tapes are designed for specific taping techniques, like joint realignment, deformity corrective measures etc.
KT for wrist sprain :
Kinesiology tape for your wrist sprain may be one option that your physical therapist uses to treat your condition .
Kinesiology taping, also known as K-tape, is a treatment that can be used to decrease your pain, inhibit muscle spasm, or facilitate the correct muscle contraction of your elbow and wrist muscles.
Application of KT :
- General application
- Before applying tape make sure skin is clear and dry. After applying rub brisky to activate adhesive. Do not shower for at least 30 mins after applying tape.
- It is normal for wrinkles to appear in the skin and muscle are relaxed.
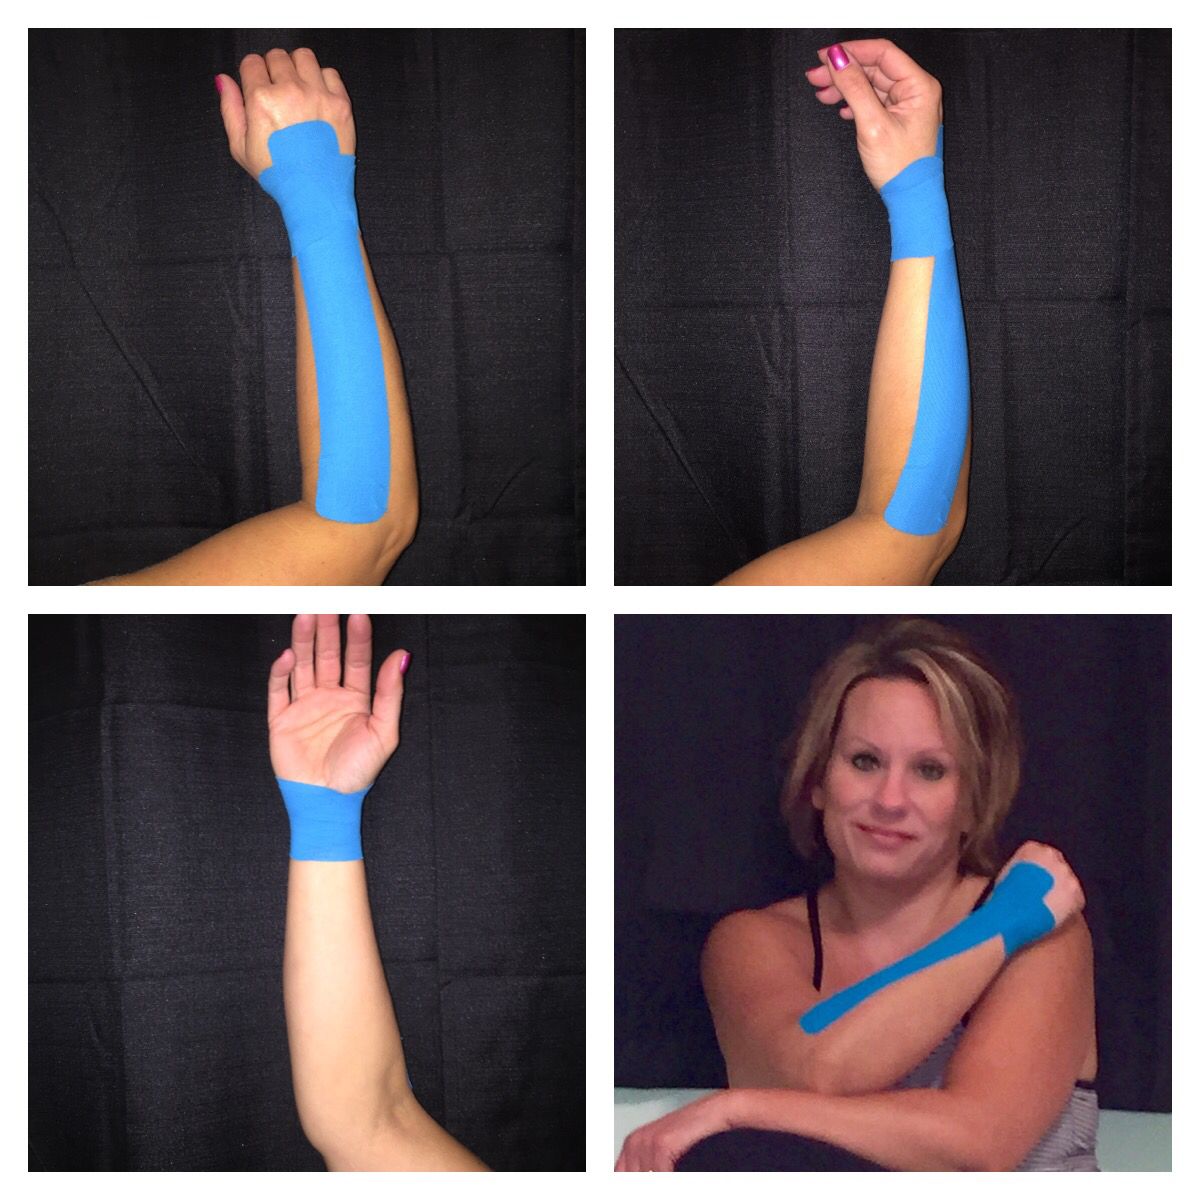
- Application:
- Step 1 : Take one I strip if necessary,use cutting guide on backing to cut ends to correct length. Take one black I strip and cut in half where the tape backing
- indicates tear paper here the second black I strip can be used for additional wrist support if necessary.
- Step 2 : Take the blue I strip and tear backing where indicate place wrist in flexed position ( Finger pointing down) remove backing from base end of tape and apply end of tape to back of hand above knuckles. Continue removing backing and applying tape with no stretch along top of arm.
- Step 3 : Take one of the cut black I strip and tear backing across center of tape. Remove backing in both direction to expose middle of tape.Holding both ends of tape apply a slight stretch,then apply center of the tape on top of wrist. ends should not meet. To avoid skin irritation,
- ends should be applied with no stretch.
- Step 4 : Repeat previous step with second black I strip,but apply tape to bottom of wrist joint. Ends should not meet to avoid skin irritation ends of tape should be applied with no stretch. For additional wrist support, the second black I strip can be cut and applied directly over or slightly above the first.
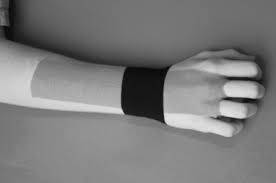
Rigid tapping for wrist sprain :
- rigid tape, the tried and true method of taping. With its tight structure and its ease of application, many clinicians have reached for the rigid tape to treat sprain of the wrist. “Rigid tape is used to support ligaments and the wrist joint capsule by limiting movement and providing proprioceptive input…
- Rigid tape can also be used as a temporary substitute and/or means of assessing for orthotic use and may also be used to address soft tissue issues at the wrist”. The authors offered up the following taping method to assist in the treatment of ligamentous laxity at the scapholunate interval.
- To start, place the patient’s forearm in supination with the wrist in ulnar deviation and the digits grasping the thumb to promote extension of the scaphoid.Place a short piece of white tape over the scaphoid tubercle around the radial half of the wrist, ending at the central aspect of the dorsal wrist.
- Place a second piece of white tape over the pisiform, wrapped around the ulnar half of the wrist to end slightly overlapping the first piece.
- Now with rigid tape, apply the first piece over the white tape, anchoring over the scaphoid tubercle and pulled circumferentially over the radial wrist, again ending at the central aspect of the dorsal wrist.
- Place a second piece of rigid tape along the ulnar aspect of the wrist over the pisiform and pulled circumferentially along the ulnar wrist, ending at the central aspect of the dorsal wrist.
How to remove tape?
So now you’ve got your tape on and you’ve gotten that extra support during your chosen sporting activity, it’s time to take it off,
so let us ease the process of removing kinesiology tape for you The best tip we can offer when it comes to removing your kinesiology tape is to peel the skin from the tape, not the tape from the skin.
But in terms of the actual process, firstly make sure you’re removing the tape in the same direction as the growth of the hair underneath it, and whatever you don’t rip the tape off like a plaster!
Start slowly, folding the corners of the edge back gradually, ensuring that you’re laying the removed tape on the back of the applied tape,
as opposed to pulling the tape above and away from your arm.
As you’re peeling off the tape, hold your skin down with your other hand and either tap it or pull it gently in the opposite direction of the tape. This helps the skin and the tape to separate more efficiently but with no discomfort.
If the tape has been applied over a particularly hairy part of the body, it helps to press down on the tape as you are peeling it off, as the pressure helps avoid further pain.
It’s wise to have shaved the area before applying the tape but, as this isn’t always practical, taking this precaution will be necessary for some. Need a little extra assistance? Apply oil directly onto the tape, rub it in and wait around 10 to 20 minutes before removing it slowly. This will help reduce the stickiness of the tape and make it easier to remove.
If you want to know more about Taping technique you can click here.

Great Knowledge